
Keep reading to find out how I did it!
STEP ONE

Alex arrived at my house wearing some very natural looking make-up so I decided to take advantage and not 'start from scratch' as it were, considering half of the face in this look is supposed to be 'pretty'. She was just wearing Rimmel: Lasting Finish, 25 Hour foundation (100 Ivory), Collection: Lasting Perfection concealer (Fair, 1), some Rimmel: Clear Complexion powder and a light pink blush (which I added to later on) and Rimmel: Scandal Eyes Volume Lash mascara. But if you are doing this from scratch just add a simple base, you don't want to detract from the skeleton!
STEP TWO


I used a white eyeliner pencil by Barry M to sketch out the design, firstly sectioning the face half way and then drawing around the areas that would be black.
STEP THREE


Once all of the outlines were drawn, I filled in the gaps using a white face paint by Snazaroo. I applied a few layers of paint, allowing each layer to dry in-between, to create a greater coverage.
STEP FOUR


I then picked up my Collection 24 Hour Felt-tip Liner and carefully filled in the 'bone structure'. I originally applied black face paint but I found it too fiddly so switched to the eyeliner pen, but if you're confident enough then the face paint would probably last longer on the skin.
I started to apply some shading and then realised I hadn't filled the nose in!
STEP FIVE


I then filled the nose in, it sounds gross, but make sure that the nostril is covered as well!
STEP SIX


Then it was time for some shading! I just used my MUA: Winter Forest palette and dipped my brush into the grey tones, so, 'Dove Grey' and 'Slate'. I applied these shades to the outer most areas of the face and along the jaw line to add more definition. I then wanted to emphasise the shapes I had made previously so added some shading there too, with lots of blending!
STEP SEVEN


I left the teeth till last because... well... I was dreading doing them! I picked up a tiny weeny paint brush, dipped it into some water and then into my 'Blackout' (matte black) eyeshadow from my Urban Decay: Naked 2 palette (you could use black face paint but because I was scared I thought I would be able to remove the eyeshadow a lot easier than paint if I needed to!) I firstly darkened the centre of the lips so they appeared thinner and then made tiny brush strokes upwards and downwards and then rounding the edges...to make them look like teeth. I would advise having a visual aid to copy from. I got rather annoyed and stressed out at this point but I believe it all came together nicely!
STEP EIGHT

I then went back in with the grey tones. I applied a small amount underneath each tooth, and blended the grey into the previous application. I also added a bright pink lipstick onto the 'pretty' side of Alex's face. This not only made the 'Pin-Up' look more complete but it created a vast contrast to the mono-chrome look on the other side (it also went with Alex's hair!)
STEP NINE

I then added a small beauty spot and some winged eyeliner onto Alex's lash line. The prettiness contrasted well with the quite horrible looking skeleton!
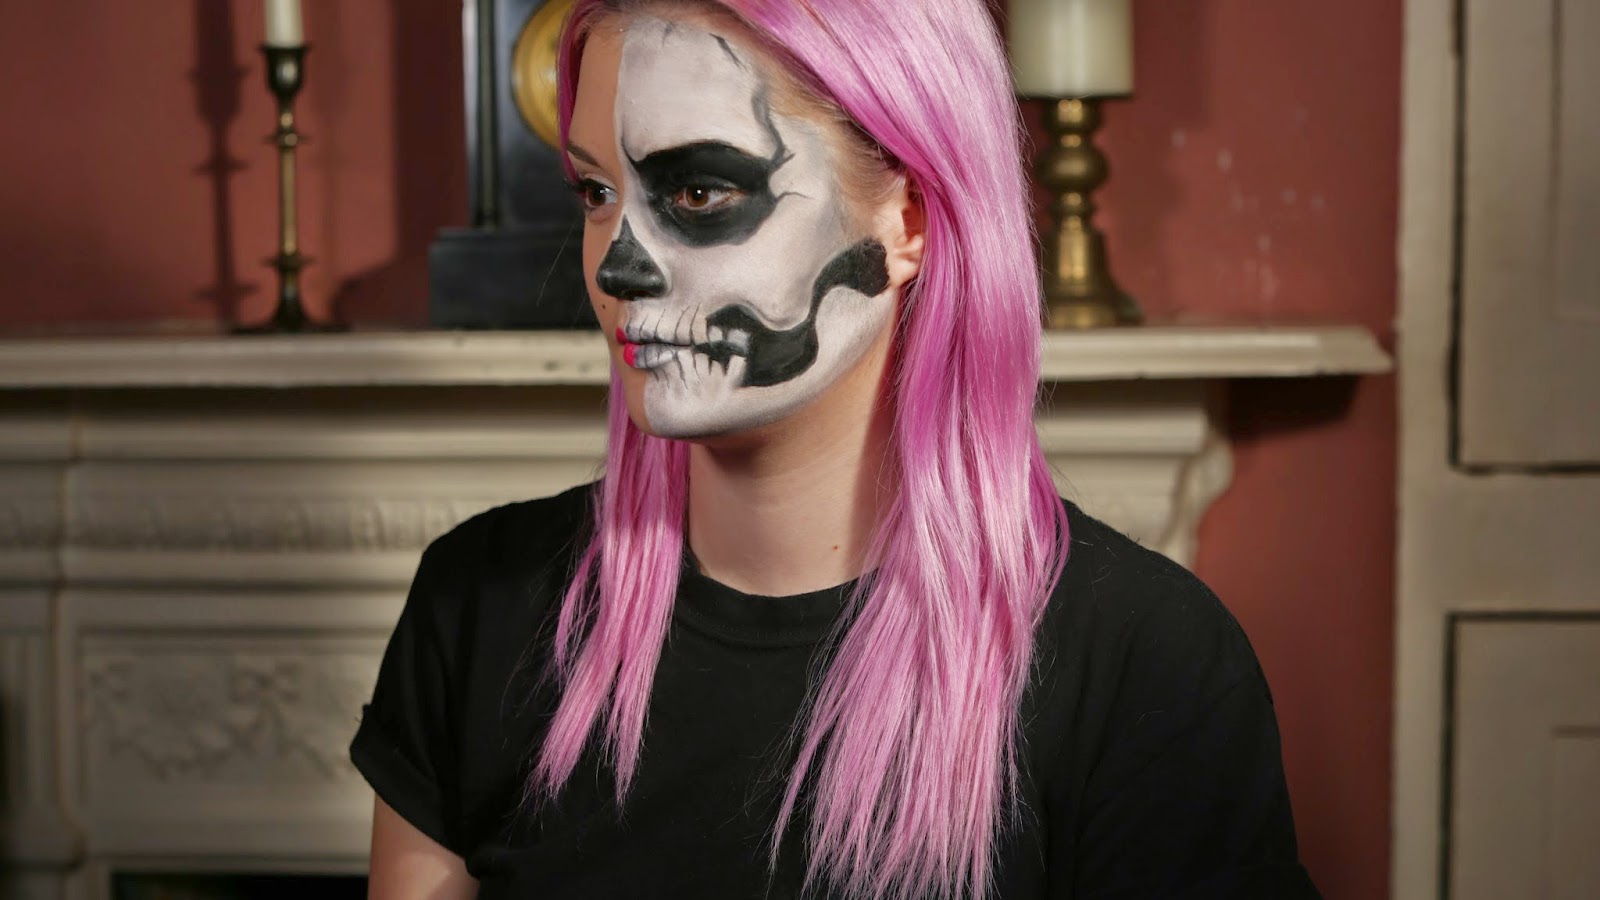
FINISHED!
You could do a complete skeleton face, just by mirroring the look onto the other side... this means that it is also more wearable for guys too!
Here are some more photos...


I hope this has helped!
Speak soon!
Isabel x
No comments
Post a Comment