Big This Week

Recent Posts

Saturday, 31 October 2015

'It's a witch!'- Last Minute Halloween Make-up Tutorial

Hi Everyone,

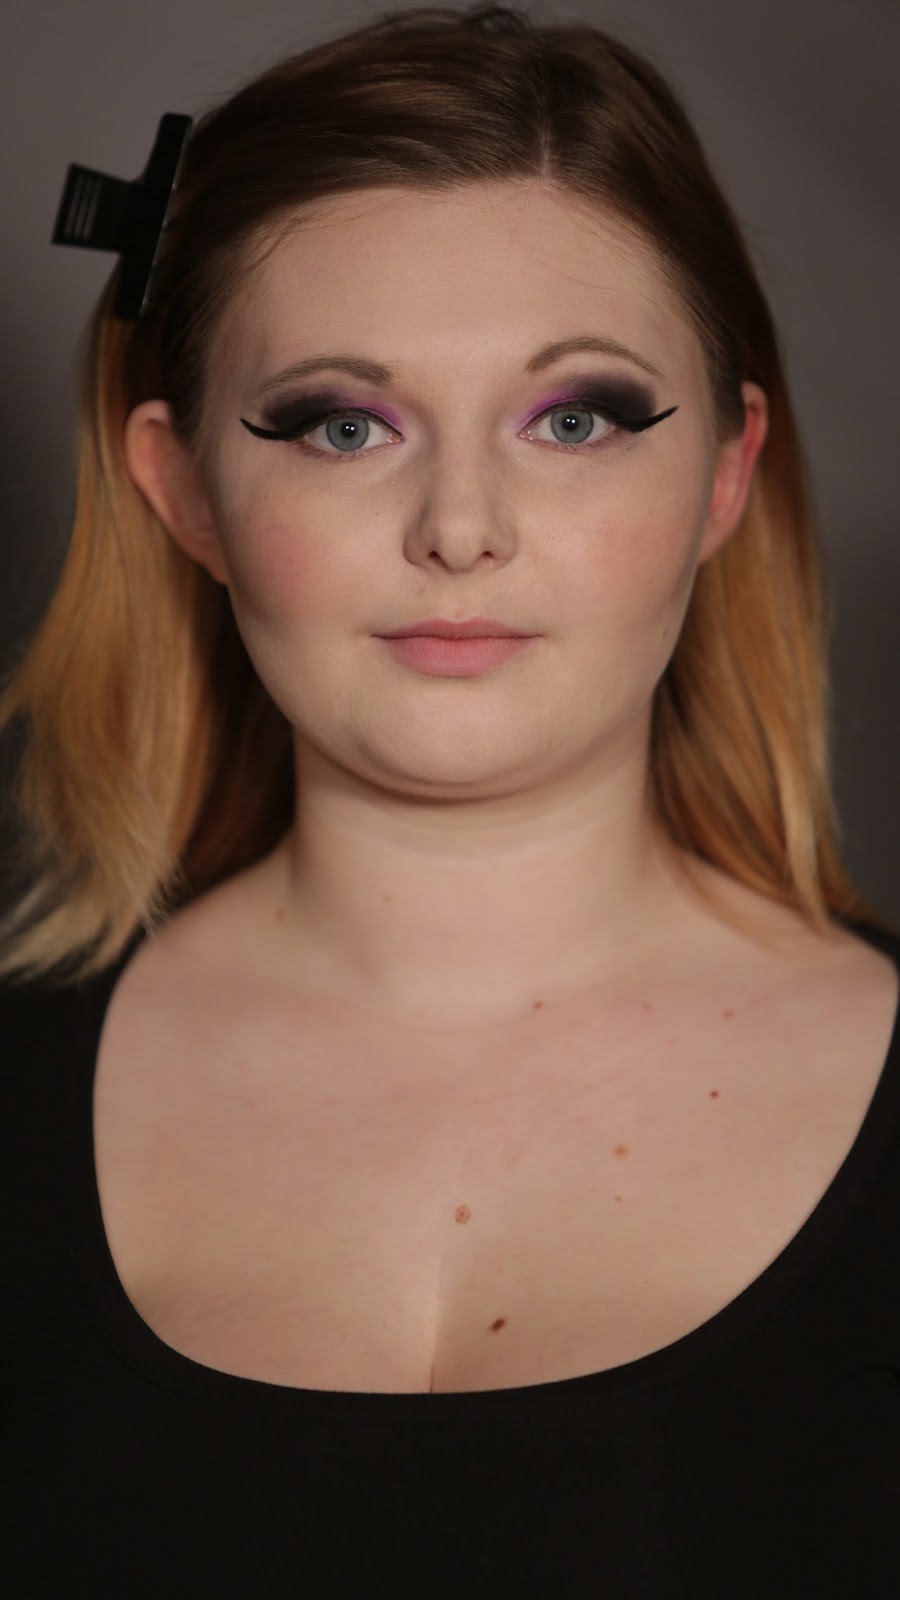
I've got look number two coming your way now- a green witch make-up tutorial modelled by this stunner, Amy...


STEP ONE


Prepare your skin by removing any make-up and oils, I would suggest using a micellar water for this. Any oils will interfere with the face paint. Also, put on the outfit you will be wearing as the paint is going to come down the body (the areas that are on display)and move the hair out of your face!

STEP TWO


Simply apply the green face paint, this one is from Snazaroo, all of the face, neck and chest (and anywhere else that will be on display). You will need to do a couple of layers to build the colour intensity, but make sure the layer underneath is dry first. 


STEP THREE


Just like with normal foundation, contour and highlight, target these areas in the same way but replace them with green shades. So, use a darker green face paint on the hollows of the cheeks, temples and jaw line and blend (this is quite difficult because the paint is water based and smudges- perhaps use oil based make-up if you can as the consistency is easier to blend). And then mix a little bit of green and white paint together and apply it under the eyes in a triangle shape, down the middle of the nose and in the centre of the forehead. You can build either as much as you desire, I wanted a strong contour so it does stand out quite a lot. 


STEP FOUR


Then use the same colours, add some detailing to the neck bone structure to make it appear more skeletal- putting a lighter shade on the tops of the bones and defining them with darker shades. Blend this out also.

STEP FIVE


Now for the eyes! Start off by mapping out the initial shape you want to go for on the eyes, I did this with a dark green eye crayon from Barry M. This will act as a base for the eyeshadows and help the longevity of the eye make-up.

STEP SIX


With a medium-dark green eyeshadow shade, apply this all over the lid. Then, with a black eyeshadow, pat this onto the outer corner of the eye and in the crease and wing it out a little. Then with a fluffy blending brush... blend, blend, blend! It isn't overly crucial to blend as this is Halloween, you can get away with more striking make-up- that's my excuse anyway! 

STEP SEVEN


Bring the black and green under the eye too and blend them together. 

STEP EIGHT


Grab a preferably waterproof black, kohl eyeliner end put it in the water line and upper lash line. With a black, liquid eyeliner felt tip (whatever you find easiest), line the upper lash line and create a flick. Pop on some false eyelashes and mascara. 


STEP NINE


Using a small paint brush fill in any little, skin coloured areas with the green face paint. This will usually be around the mouth, nose and eyes. Once you've done that, grab a vampy lipstick- this is Dark Side-MAC and apply it to the lips. Then, with a damp brush, get some black eyeshadow and put it on the outer corners of the mouth and blend across to make a gradient. 

All make-up done! Now, get your cape and witch's hat a pose for those photos!


That is all the Halloween posts you'll be getting from me this year, unfortunately. I hope you have an amazing Halloween and take lots of photos with your friends and soak up the craziness! 

Thanks for reading!

Love from
Isabel x


Here are some make-up related links to my 'Halloween Series' from last year:

Cracked Doll Face:

Scary Cheshire Cat:

Zombie:

Skeleton:

Vampire:


Share:

Thursday, 29 October 2015

Halloween Series- Creepy Clown


Hi Everyone,

It is finally that time of year again where I can bring out the face paint! Halloween is looming and I have a couple of make-up looks to hopefully inspire your costume decisions! I have decided this year that I wanted the looks to be more accessible. 

Here is look number one, a creepy clown, modelled by my gorgeous friend Remy...


STEP ONE


Start with a clean face and remove any oil from the skin so the paint stays on better later on. Simply do a normal skin base using, foundation, concealer and powder. Then contour your cheeks more than you would usually to give the effect of rounder cheeks (like a clown). The easiest method of this, personally, is by sucking your cheeks in like a fish! 

STEP TWO


Using a bright coloured eye shadow (I chose pink), apply this with a damp eyeshadow brush on the the inner-mid part of your eyelid. (Dampening the brush will increase the pigmentation and intensity of the colour). 

STEP THREE


Pat some black eyeshadow onto the outer corner or the eye and eyelid crease (feel free to wing this out as much as you want but I wanted to keep the eyes looking as round as possible). And with a fluffy blending brush, blend these colours together. Don't worry too much as this look isn't supposed to be refined, it's Halloween! 

STEP FOUR


With a felt tip liner (or any black, liquid liner you have), create an extended flick running across the lash line.

STEP FIVE


Bring this liner underneath the eye too and down past the tear duct. 


STEP SIX


Now for the clown-esque detailing. Put a tiny dot above each eyebrow as to where you want the triangle points to be. Then draw a triangle and fill it in. I kept adjusting it, so just go with it really!


STEP SEVEN


Apply, quite a dramatically, a different colour eyeshadow under the eyes. I blended a couple together but I wanted the lines to stand out also.

STEP EIGHT


Then, once again using your trusty eyeliner draw a smaller triangle underneath the eye. I also added some glittery, blue dots onto each point and popped on some mascara.

STEP NINE


Map out the mouth using the eyeliner and either fill in the lips with a black lipstick (which I couldn't find) or black face paint. With a very thin painting brush create lines either side of the mouth and an enhanced cupid's bow- I went for triangular to keep with the theme but I think a heart shape would look good too. And then draw on a nose.

STEP TEN


Once that has dried, get a small amount of white face paint and put a little dot on the nose and mouth to make the look more animated. 

STEP ELEVEN


It's collar time! Using a wide-ish brush (I used a Real Techniques Foundation Brush) to make stripes down the neck and onto the chest. 

STEP TWELVE


As you can see, I changed the shape at the end of the stripes, so just play around with them really.

STEP THIRTEEN


Using a black liner or face paint, outline the collar and make it look more cartoon like. I did add some black eyeshadow here and there to make it all stand out more against Remy's skin. 

ALL DONE! 

Here are some posed shots for yah!


Thanks for reading!

Here are some make-up related links to my 'Halloween Series' from last year:

Cracked Doll Face:

Scary Cheshire Cat:

Zombie:

Skeleton:

Vampire:


Love from
Isabel x


Share:

Thursday, 30 October 2014

Halloween Series: 'Va-va-voom Vampire' Make-up look

This is the final addition to my Halloween Series! I have really enjoyed doing it but I am also aware that the make-up looks I have done previously are quite time consuming. Therefore, I wanted to post a make-up look that is simpler, quicker and with products that are more accessible and have a sexier finish! My gorgeous friend Amy kindly agreed to model this look for me... so, let's jump right in!


STEP ONE


I cleansed and moisturised Amy's skin with my Garnier: 'Micellar Cleansing Water' and Simple: 'Vital Vitamin Day Cream'. Once the moisturiser had soaked in I applied Rimmel: 'Lasting Finish- 25 Hour' foundation all over her face. I then used Collection: 'Lasting Perfection' (Fair, 1) concealer under her eyes to help with brightness and Maybelline: 'Cover Stick' (Vanilla, 02) on any blemishes or redness. I then set this with Rimmel: 'Clear Complexion' powder and added a slight contour under the cheek bones, on the temples and upper forehead with Accessorize: 'Baked Bronzer Duo' (this was only for sculpting, not to 'bronze'). I didn't apply any blush to the cheeks because I still wanted a more ghostly, pale look about the skin. I still added some highlighter onto the top of the cheek bones and brow bone, as this look is still supposed to be a bit glam!

STEP TWO


I applied several layers of Maybelline: 'Color Tattoo' (Metallic Pomegranate, 70), which is a plum coloured cream eyeshadow. I blended lots in-between each application. Not only is it absolutely beautiful and easy to blend but it also increases the longevity of powder eyeshadows (which means they won't budge as easily if you're dancing the night away)!


STEP THREE


I then grabbed my trusty Urban Decay: 'Naked 2' palette. I applied 'Tease' (a muted purply-mushroom shade) onto the outer corner and crease and blended this in to the cream eyeshadow. I then added 'Busted' which is a shimmery dark brown shade onto the same area and blended. I also popped it on the lower lash line, but focusing on the outer corner for a 'wider-eyed' effect. 


STEP FOUR


Once all of the other colours were nicely blended I added to the sexy smokiness with 'Blackout', a matte black shade. I folded a piece of tissue in half and placed the edge against the eye to create a straight line (the outer corner of the eye to the end of the eyebrow is always a good guideline). I wanted there to be a defined wing, but still softly blended. Like the dark brown, I applied the black to the outer corner of the lower lash line and blended them together.

STEP FIVE


Then I moved onto eyeliner. I applied black, pencil eyeliner onto the water and tight line, I also brought the soft pencil onto the lash line and slightly below, once again focusing on the outer corner, and smudged it. After that, I picked up my Collection: '24 Hour Felt-tip Liner' and drew a reasonably thick line on the top lash line, flicking it out on to outer corners.

STEP SIX


I then applied several coats of Maybelline: 'The Colossal, Go Extreme Volume!' mascara to her naturally, long, curled lashes (the lucky bugger). And that was the eye make-up complete!


STEP SEVEN


LIPS TIME! I applied Sleek: 'Cherry' (No.790) all over the lip, using a lip brush for precision and then straight from the stick for colour intensity. 


STEP EIGHT


I then applied Rimmel: Starry Eyed (No.128), using a lip brush, onto the outer corners of the lips and blended the deep red and purple together. I went over this quite a few times so all of the colours were vibrant but still nicely blended.


STEP NINE


I then picked up a small paint brush and some fake blood and dripped the blood from the corners of Amy's mouth. We were going to use some fangs but we had a bit of a disaster, so feel free to add them but it still looks vampire-like as it is!


That's the finished look! 
Here are some more photos for you...


I hope you have an amazing Halloween and my 'Halloween Series' has helped you out! 

Speak soon!
Isabel x


Share:

Wednesday, 29 October 2014

Halloween Series: 'Spookily Sweet' Cocktail

I'm rather fond of a little tipple... the sweeter, the better! I love making cocktails, I'm no expert (well I am at drinking them!), but I love creating concoctions! I first made this cocktail a couple of years ago and it is one of my favourites. Not only does it taste AMAZING... it is also looks awesome! 


 If you want to learn how to make this glass of yumminess... keep reading! 

YOU WILL NEED


Ingredients 

200ml pineapple juice
80ml cranberry juice
1 shot of coconut rum
1 tbsp granulated sugar
1 tsp red food colouring
1 tbsp water

Equipment 

A glass
Shot glass
Measuring jug
Metal spoon
2 plates


STEP ONE


Put the water onto a plate and dip the rim of the glass in it. Pour the sugar and food colouring on to the other plate, mix together until all of the crystals are dyed red. Dip the rim of the glass into the sugar until it is coated like the image above. 

STEP TWO


Pour the pineapple juice into the glass.

STEP THREE


Then add the coconut rum.

STEP FOUR


Place the spoon up-side-down, leaning it against the side of the glass. Slowly pour the cranberry juice down the back of the spoon a little at the time. Stop and then turn the glass and repeat (this is so it is evenly distributed).


FINISHED

Drink up and enjoy!

Speak soon
Isabel x


Share:
© isabel's insight | All rights reserved.
Blogger Template Developed by pipdig