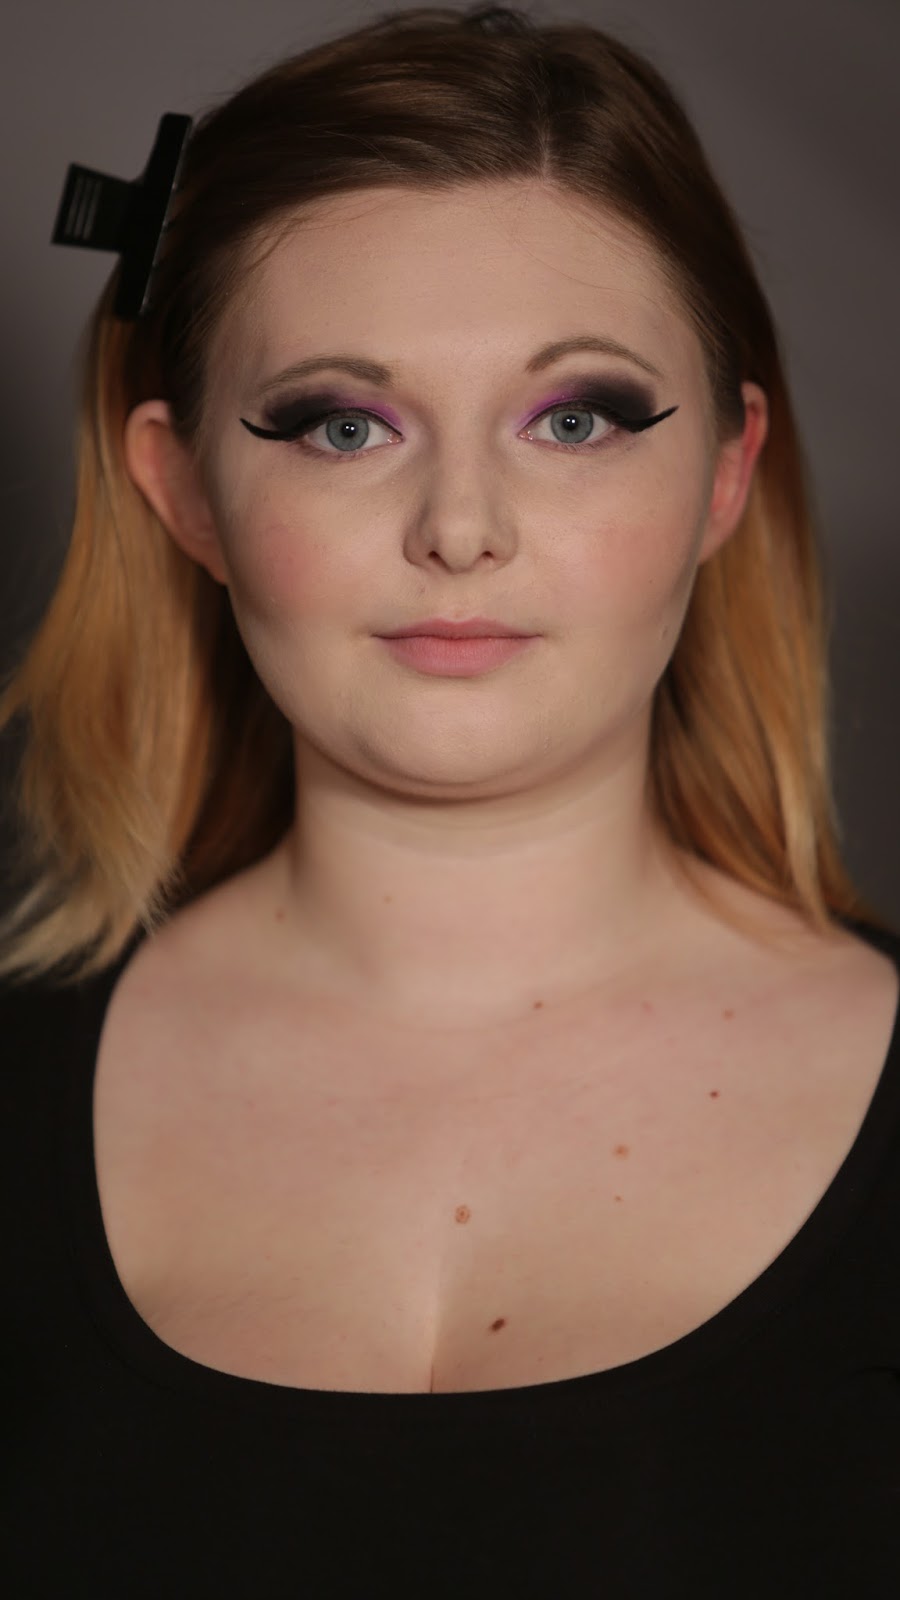
Big This Week

Recent Posts

Thursday, 21 January 2016

Tasty Thai Turkey Burgers

Hi Everyone,

I absolutely love the Thai cuisine. It is all so flavoursome and can also be incredibly simplistic to incorporate into everyday eating.
 I first had Thai turkey burgers at my ex-boyfriend’s house years ago and have loved them ever since. I re-created them at home with what I thought was inside them and they tasted pretty darn good (if I do say so myself) and have been making them ever since- a definite family favourite (especially when barbequed!)
(Serves 4)
You will need
Sharp Knife
Food Processor
Mixing Bowl

Ingredients
(400g) Turkey Mince
1 Large Onion
2 Garlic Cloves
1 Thai Red Chilli
Small Handful of Fresh Coriander
1 Lime (Zest)
Season with Salt & Pepper 

Step One
Roughly chop the onion and put it into the food processor alongside the garlic, chilli, coriander, lime zest, salt and pepper. Blend.


Step Two
In a separate bowl add the turkey mince and the paste that you’ve just created. Get your hands in there and mix it all together.


Step Three
Separate the mixture and make little burgers. Pop them on a tray or plate and put them in the fridge for half an hour or so if you’re cooking them that day.


Step Four
Heat a frying or griddle pan with a little bit of coconut oil and cook them on a medium heat for about 5 minutes on each side. Make sure the burger is piping hot in the centre before you eat it!


(I have paired mine with a mixture of quinoa, brown rice and some steamed broccoli. The burgers are so versatile. I love them with salad, sweet potato chips or even broken up and put on top of a homemade pizza!)

I hope you enjoy this lean, protein filled, yummy burger!

Love
Isabel x


Share:

Tuesday, 12 January 2016

Matt Hampson Foundation- 'Get Busy Living' & Meeting Jonny Wilkinson


Hi Everyone, 

This post is a little bit different for my blog but is very special. At the end of last year I had the pleasure of attending a 'Matt Hampson Foundation' event with the amazing Scissor, Paper, Stone (a full service international video production and photography company). This particular occasion was a Legends Game and dinner- meaning lots of retired professional rugby players had travelled far and wide to come and have some fun playing a game of rugby and raise money for the Foundation. 

So, for those of you who may not know who Matt Hampson is and his story, I will give you a brief overview. Matt is an ex-Leicester Tigers and England U21s rugby player. Unfortunately he was horrendously injured in a match and is now paralysed from the neck down and breathes with the aid of a ventilator. Although everyday is obviously a lot more challenging he hasn't let it defeat him. He has created the 'Matt Hampson Foundation' in which he inspires those in similar circumstances to not lose hope and continue to follow their dreams and help others. The ethos of the Foundation 'Get Busy Living' is exactly what he is demonstrating. 

There were multiple times where I almost cried on that day but for different reasons. When Matt was speaking in his interview with us he just filled me with so much motivation, appreciation and made me feel very lucky, and in some ways guilty, for complaining about things, when in fact I'm privileged. This was echoed from other injured players that attended too. So empowering. 
Another reason I almost cried was because of a particular camera angle. The players were lead onto the Saracens pitch by Matt Hampson and Joost van der Westhuizen (injured South African player). I just felt overwhelmed with the love, support and the overall team spirit of everyone there. It was amazing. 
What made it even more amazing was that I got to meet Jonny Wilkinson- reason number three for almost crying. It was so surreal and I feel so lucky to have been able to have that opportunity as I know many people would kill to be in that position. Yes... I did ask for a selfie... 


Here are some behind the scenes photos I took on the day...


I'm excited to see this Foundation flourish further, and the support and fun widen. 
I'm so thankful for this opportunity and would love to take part in future events. 

Thank you for reading.
Speak soon
Isabel xx

Matt Hampson Foundation:


Scissor, Paper, Stone:


Share:

Saturday, 9 January 2016

Chocolate & Peanut Butter Protein Balls

Hi Everyone,


I tend to get peckish midmorning and afternoon and I need to have a little something to satisfy my hunger until the next meal time. Something protein based is really good for slow release energy. Although I have more of 'savoury tooth' I do like a bit of chocolate now and again and I love peanut butter (Reese's Pieces are just dreamy). However, I wanted to create something that had a similar flavour but was much more nutritious, would give me energy and be cost effective in comparison to buying protein bars in the shops. So I did some research and food shopping and this is what I have created! (They have been tried and tested on my friends and family-I haven't had any negative response so far!)


You will need: 
Food Processor
Sharp Knife
Baking Sheet
Baking Parchment

Ingredients:
Organic Cruchy Peanut Butter (1 Cup)
Porridge Oats (I used gluten free) (1 Cup)
Chia Seeds (2 Tbsp)
Organic Dark Chocolate (1/2 Cup
Dates (Meduel Dates are best- I didn't have any this time and they are still yummy) (1 Cup)


Step 1:
Cut up the chocolate and dates into smaller pieces and then
blend all of the ingredients together, adding water gradually to change the consistency. It needs to be reasonably sticky so you can roll them into balls later on. Add more of the dry ingredients if its too wet and more water if it isn't binding. 


Step 2:
Line a baking tray with baking parchment and roll the mixture into bite size pieces. 


Step 3:
Put the balls in the fridge for half an hour to let them set. 


Step 4:
EAT!


I hope you enjoy these balls of yumminess! 

Speak soon
Isabel xx


Share:

Friday, 8 January 2016

Hello 2016!

Hi Everyone,


HAPPY NEW YEAR! 


I know that I have been absent for a while and my posts are rather irregular- in all honesty I had just lost confidence in my abilities and the effects of stress/anxiety and time management got the better of me. However, I am now fully fuelled to post more regularly with varied content, I hope you enjoy!

You may have noticed that my blog looks rather different- one of the things I found demotivating was the appearance of my blog, I didn't feel as if it reflected my design interests anymore and found it frustrating to navigate. Therefore, I have updated the overall layout and look of my blog and made sure everything is easy to access. I am in the process of fully personalising it but this will be fine and dandy for now!

This is going to be a little reflection section (ooo it rhymes). 2015 has been one of the most challenging, life changing, negative yet very, very positive years of my life. I feel as if I have grown up a lot and been given more respect and love than I ever have before. 

This time last year I started my first full time job where I get to work with the most lovely, supportive and crazy team- some true and long term friends have been made for sure. 

I also made the decision to remove gluten and dairy from my diet (as much as possible) after reading 'Eat. Nourish. Glow' by Amelia Freer (I now have her new book 'Cook. Nourish. Glow.' too- I'm super excited). I have written about my reasons in a previous post which I will link below. I have continued this diet change and it has been very rewarding- not only have I lost weight, I just know my body is thanking me. I no longer feel sluggish, bloated and my stomach doesn't churn. 

This brings me very nicely to my next reflection- Herbalife. I am well and truly living the Herbalife life. It all began with a little Herbalife SKIN Results Kit from one my old school friend's Dad (a truly inspiring and lovely man). The SKIN range hadn't been out very long and as my friend knew I was interested in beauty and ultimately sorting out my skin. She then recommended I try the new products out- I have never looked back (I have an in-depth post on some of the SKIN range and my results). This set a spark off inside me to fully get my body and mind into a more positive state and I wouldn't have been able to do it without the help and support from the Herbalife products (my collection keeps growing- from more skincare to gym attire, from shakes to herbal teas) and the overall community behind it- a large group of people, on a journey, striving to help everyone achieve their goals and lead a 'healthy, active lifestyle'. I'm so excited to see how much my body composition can change this year- I have lots planned to keep myself focused and motivated to be in the best shape possible and finally be happy with the way I look and feel. 

2015 was challenging in regards to relationships too- with my parents splitting up at the end of 2014, a relationship breakup in the Spring and family illness throughout the entire year. I must give myself some credit. I have kept increasingly positive and managed my anxiety a lot better than previous years. It has been tough but definitely good. Everything that has happened was for a good reason and I can see how much better off I am with some other these alterations and challenges. I am a lot more independent, I stand up for myself, I strive to be as good as I can be but also accept when I do feel crappy and need a break. I feel a sense of empowerment which I haven't had before. 

The latter part of the year was by far my favourite. Spending more time with family and friends (making new ones), being given more responsibility at work, lots of celebrations and a new relationship. I also had the privilege of being a runner at a 'Matt Hampson Foundation' charity event where I met some of the world's greatest rugby players, including Jonny Wilkinson, who were there to support and raise money for the Foundation. Soon after that I also took the plunge and got my first tattoo and will be getting some more next month! (There will be related posts to follow). 

I have lots of plans for this new year and I can't wait to action them. I am so so thankful to everybody that has supported me and encouraged my personal development. I'm super excited for what this year holds and I hope to bring positivity to those around me too!!

So, THANK YOU to my amazing friends, family and boyfriend for making me so very incredibly happy. I love you all to pieces!

With lots of love 

Isabel xx

Share:

Saturday, 31 October 2015

'It's a witch!'- Last Minute Halloween Make-up Tutorial

Hi Everyone,

I've got look number two coming your way now- a green witch make-up tutorial modelled by this stunner, Amy...


STEP ONE


Prepare your skin by removing any make-up and oils, I would suggest using a micellar water for this. Any oils will interfere with the face paint. Also, put on the outfit you will be wearing as the paint is going to come down the body (the areas that are on display)and move the hair out of your face!

STEP TWO


Simply apply the green face paint, this one is from Snazaroo, all of the face, neck and chest (and anywhere else that will be on display). You will need to do a couple of layers to build the colour intensity, but make sure the layer underneath is dry first. 


STEP THREE


Just like with normal foundation, contour and highlight, target these areas in the same way but replace them with green shades. So, use a darker green face paint on the hollows of the cheeks, temples and jaw line and blend (this is quite difficult because the paint is water based and smudges- perhaps use oil based make-up if you can as the consistency is easier to blend). And then mix a little bit of green and white paint together and apply it under the eyes in a triangle shape, down the middle of the nose and in the centre of the forehead. You can build either as much as you desire, I wanted a strong contour so it does stand out quite a lot. 


STEP FOUR


Then use the same colours, add some detailing to the neck bone structure to make it appear more skeletal- putting a lighter shade on the tops of the bones and defining them with darker shades. Blend this out also.

STEP FIVE


Now for the eyes! Start off by mapping out the initial shape you want to go for on the eyes, I did this with a dark green eye crayon from Barry M. This will act as a base for the eyeshadows and help the longevity of the eye make-up.

STEP SIX


With a medium-dark green eyeshadow shade, apply this all over the lid. Then, with a black eyeshadow, pat this onto the outer corner of the eye and in the crease and wing it out a little. Then with a fluffy blending brush... blend, blend, blend! It isn't overly crucial to blend as this is Halloween, you can get away with more striking make-up- that's my excuse anyway! 

STEP SEVEN


Bring the black and green under the eye too and blend them together. 

STEP EIGHT


Grab a preferably waterproof black, kohl eyeliner end put it in the water line and upper lash line. With a black, liquid eyeliner felt tip (whatever you find easiest), line the upper lash line and create a flick. Pop on some false eyelashes and mascara. 


STEP NINE


Using a small paint brush fill in any little, skin coloured areas with the green face paint. This will usually be around the mouth, nose and eyes. Once you've done that, grab a vampy lipstick- this is Dark Side-MAC and apply it to the lips. Then, with a damp brush, get some black eyeshadow and put it on the outer corners of the mouth and blend across to make a gradient. 

All make-up done! Now, get your cape and witch's hat a pose for those photos!


That is all the Halloween posts you'll be getting from me this year, unfortunately. I hope you have an amazing Halloween and take lots of photos with your friends and soak up the craziness! 

Thanks for reading!

Love from
Isabel x


Here are some make-up related links to my 'Halloween Series' from last year:

Cracked Doll Face:

Scary Cheshire Cat:

Zombie:

Skeleton:

Vampire:


Share:

Thursday, 29 October 2015

Halloween Series- Creepy Clown


Hi Everyone,

It is finally that time of year again where I can bring out the face paint! Halloween is looming and I have a couple of make-up looks to hopefully inspire your costume decisions! I have decided this year that I wanted the looks to be more accessible. 

Here is look number one, a creepy clown, modelled by my gorgeous friend Remy...


STEP ONE


Start with a clean face and remove any oil from the skin so the paint stays on better later on. Simply do a normal skin base using, foundation, concealer and powder. Then contour your cheeks more than you would usually to give the effect of rounder cheeks (like a clown). The easiest method of this, personally, is by sucking your cheeks in like a fish! 

STEP TWO


Using a bright coloured eye shadow (I chose pink), apply this with a damp eyeshadow brush on the the inner-mid part of your eyelid. (Dampening the brush will increase the pigmentation and intensity of the colour). 

STEP THREE


Pat some black eyeshadow onto the outer corner or the eye and eyelid crease (feel free to wing this out as much as you want but I wanted to keep the eyes looking as round as possible). And with a fluffy blending brush, blend these colours together. Don't worry too much as this look isn't supposed to be refined, it's Halloween! 

STEP FOUR


With a felt tip liner (or any black, liquid liner you have), create an extended flick running across the lash line.

STEP FIVE


Bring this liner underneath the eye too and down past the tear duct. 


STEP SIX


Now for the clown-esque detailing. Put a tiny dot above each eyebrow as to where you want the triangle points to be. Then draw a triangle and fill it in. I kept adjusting it, so just go with it really!


STEP SEVEN


Apply, quite a dramatically, a different colour eyeshadow under the eyes. I blended a couple together but I wanted the lines to stand out also.

STEP EIGHT


Then, once again using your trusty eyeliner draw a smaller triangle underneath the eye. I also added some glittery, blue dots onto each point and popped on some mascara.

STEP NINE


Map out the mouth using the eyeliner and either fill in the lips with a black lipstick (which I couldn't find) or black face paint. With a very thin painting brush create lines either side of the mouth and an enhanced cupid's bow- I went for triangular to keep with the theme but I think a heart shape would look good too. And then draw on a nose.

STEP TEN


Once that has dried, get a small amount of white face paint and put a little dot on the nose and mouth to make the look more animated. 

STEP ELEVEN


It's collar time! Using a wide-ish brush (I used a Real Techniques Foundation Brush) to make stripes down the neck and onto the chest. 

STEP TWELVE


As you can see, I changed the shape at the end of the stripes, so just play around with them really.

STEP THIRTEEN


Using a black liner or face paint, outline the collar and make it look more cartoon like. I did add some black eyeshadow here and there to make it all stand out more against Remy's skin. 

ALL DONE! 

Here are some posed shots for yah!


Thanks for reading!

Here are some make-up related links to my 'Halloween Series' from last year:

Cracked Doll Face:

Scary Cheshire Cat:

Zombie:

Skeleton:

Vampire:


Love from
Isabel x


Share:
© isabel's insight | All rights reserved.
Blogger Template Developed by pipdig