Big This Week

Recent Posts

Tuesday, 28 April 2015

My Skin Transformation- Herbalife SKIN

If you have been reading my blog for a while you will know that I was really struggling with my skin. I had mild acne, my skin was red and inflamed, always spotty, the surface of my skin was bumpy and I had dark scarring from previous spots. I went to the doctors and even the the lotions and potions they prescribed me didn't do anything- they just dried my skin out, especially around my eyes and it stung. 

One of my oldest friends, Mary, informed me that Herbalife have just launched their own 'SKIN' range and offered me a 'Results Kit' (claiming results in 7 DAYS!)- I was at a point where I would try anything to sort my face out! So, I said yes and obviously wanted to see if their claim was true. 

The Results Kit includes the following testers: Soothing Aloe Cleanser (50ml), Daily Glow Moisturiser (15ml), Replenishing Night Cream (15ml), Firming Eye Gel Packette (2x2ml) and Hydrating Eye Cream Packette (2x2ml).

OH MY LIFE! MY SKIN HAS COMPLETELY TRANSFORMED!

Even after one use, the following morning my skin was glowing- even my Dad commented on how 'fresh-faced' I looked. The redness and inflammation had decreased over night! I was over the moon. Of course I was going to carry on using these products... 

I have now bought full sized versions of the Soothing Aloe Cleanser (150ml), Daily Glow Moisturiser (30ml) and Night Repair Cream (30ml). But I also purchased something new to try- the Instant Reveal Berry Scrub (120ml). ( I will gradually buying more and more- I just love it all! )

I will go through the products in chronological order (the order in which I use them anyway!)

So, I wake up with a bare face, no makeup from the day before! And use the Instant Reveal Berry Scrub (which has also made the Top 3 in Closer Magazine's list of the best facial scrubs!). 


I wet my face with warm water and then squeeze the sweet, fruity scented face scrub on to my figures and apply to my face in a circular motion.


The scrub is filled with the tiny berry seeds which exfoliate the skin and remove dead skin cells from the surface. I focus mainly on my nose and chin as this is where the majority of my dry skin in situated. It is very gentle and has a gel formula that lathers into a more soapy consistency. 
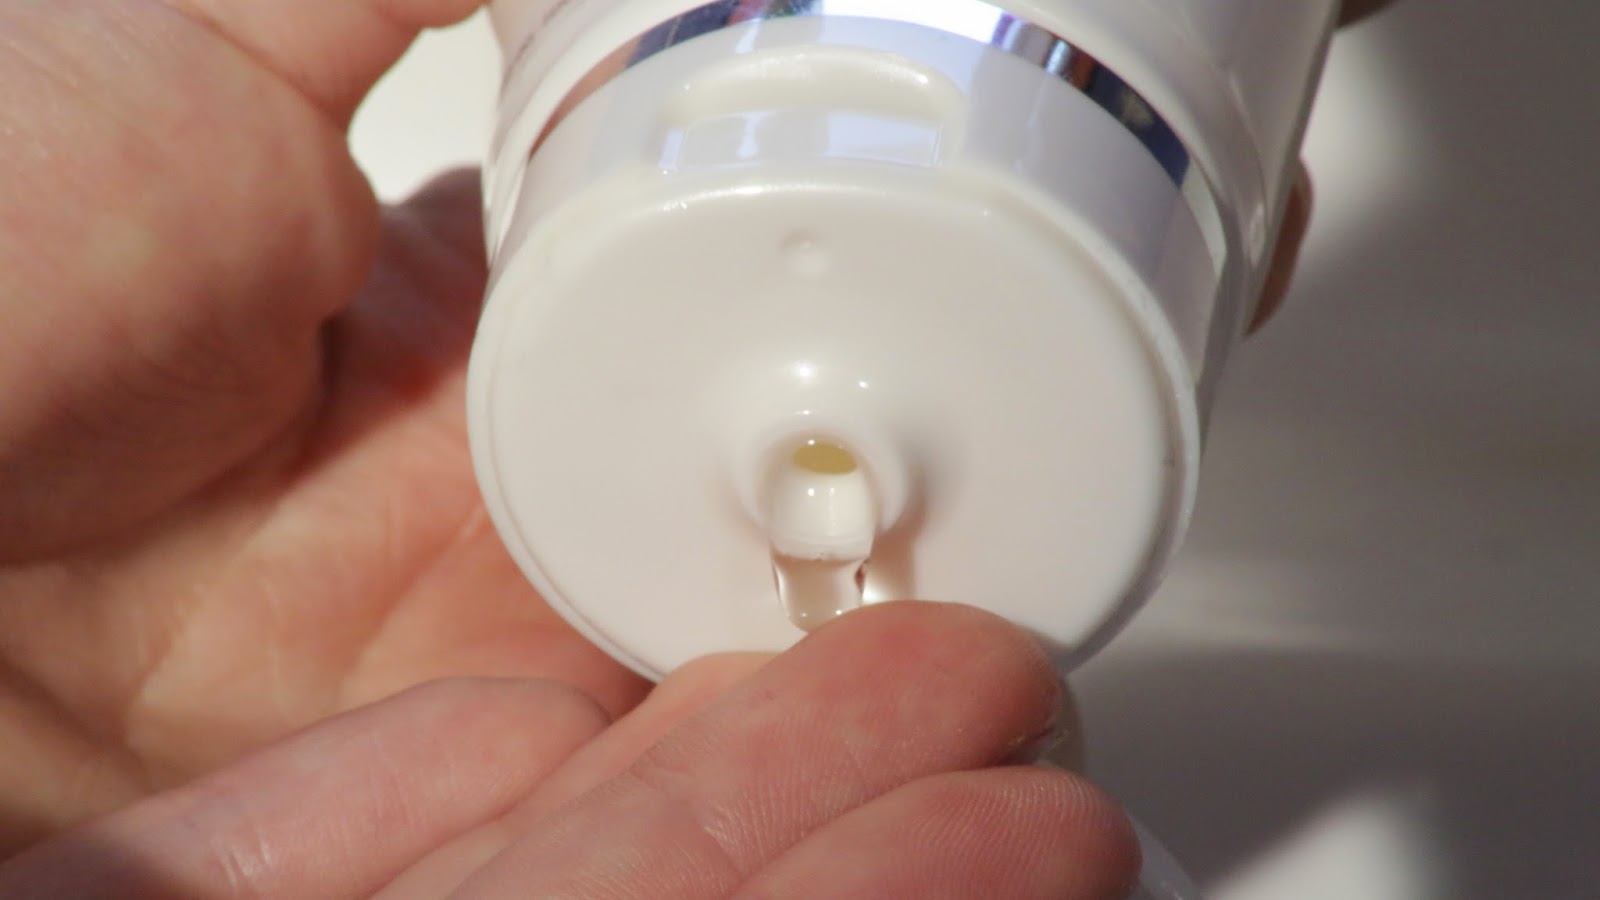

I then wash this off and do the same thing but with the Soothing Aloe Cleanser.
This is also a gel consistency and lathers in the same way the scrub does. I only use a pea sized amount with all of the products- you hardly need any to do the job! It's awesome! I then rinse this off of my face and pat my face dry with a clean towel. My face is so smooth and it just feels so clean and fresh, the scent isn't over powering either. I love it!


I then follow this with the Daily Glow Moisturiser. It really does lift your complexion- a definite glow! I have also noticed that my make-up applies a lot more flawlessly as well. 


In the evening I take my make-up off and then only use the Soothing Aloe Cleanser and then use the Night Repair Cream. This is slightly thicker than the Daily Glow Moisturiser. It soaks in reasonably quickly and doesn't leave a greasy residue. 

This skin care routine has done wonders for my skin- In all fairness I didn't really have a routine before, I would just take my makeup off with a wipe, go to sleep and then scrub my face every other day when I woke up, I was just worried my sensitive skin would freak out even more if I kept loading products onto it- but in my experience, I had nothing to worry about, Herbalife SKIN is just packed with essential vitamins to help with skin renewal, ageing and moisture like Vitamin B3, C, E and Aloe Vera!
 There have been times where I have felt a spot forming under the skin (you know the ones that really hurt and feel like a bruise)- I carried on with my routine and the day after I noticed a difference! The troublesome area just didn't hurt anymore and then the following day there is nothing at all. 
I honestly can't rave about these products enough! I feel so much more confident with and without make-up on. I am a lot happier because of this and I would love for someone else to feel the way I am after using these products. 
The packaging is very simplistic, pure and clean- this echoing the nature of the products. All of the products I have tried have a fruity/citrusy scent- this isn't overpowering though. I think these products are definitely unisex.

If you would like any further information on the products and/or how to get you mits on some then don't hesitate to ask, I'm happy to help :) 
Contact me via email: isabelskross@hotmail.co.uk

Speak soon
Isabel x


Share:

Friday, 21 November 2014

PRODUCT REVIEW: Revlon- 'Photoready': Perfecting Primer


Here is another product review for you! As you are probably well aware, it is approaching Christmas and the party season. This means that we will most likely be going out a lot more and need our make-up to last as long as possible. I love my current foundation, Rimmel: Lasting Finsih 25 hr (No.100, Ivory), it lasts for a very long time on my skin and doesn't dry it out. However, this post isn't focusing on foundation, but a primer.  Having a clean, smooth base before adding make-up will increase the longevity of the make-up and will also make your skin appear more 'airbrushed' as the products applied afterwards will glide across the skin and not sink as deeply into your pores and attach to dry patches of skin, so overall, allowing an easier, more flawless application. 


The primer I have been trying out recently is the Revlon- 'Photoready': Perfecting Primer. 


Packaging

The packaging is quite simplistic, which I feel makes it appear more chic, this is shown throughout the majority of Revlon products. The pump on top is easy to use and creates little-no mess. 

Price

I have been put off in the past, like quite a few of my friends at the price of this product, it retails at just under £12. I never thought it would be worth the money and always went for the cheaper ones, for example Maybelline: Baby Skin. However, this product completely freaked my skin out so I didn't use it again. I thought that this may be due to the quality of the product which quite often relates to the price. Anyway, enough about Baby Skin... the Perfecting Primer is more expensive so I thought it would probably work a bit better than cheaper ones I'd used yet still not breaking the bank/ indulging into high end brands. I must say, it is worth the money!

Longevity

Although you can use this product alone (it will reduce the visibility of pores), I personally have always worn it underneath foundation, or at least a bit of concealer. Ever since I started using it I have noticed a difference in the texture/look of my skin with make-up on. I have spot prone skin and dry patches and my make-up used to cling to those areas and made me feel quite self-conscious at times, this was also due to the fact that I was setting my make-up and concealed spots with powder which would emphasise the dry areas. I do still powder my face but paired with this primer, the dryness isn't as prominent. I also apply this primer onto my eye lids (I don't know if you're supposed to or not but... it worked for me!). I have had issues in the past with eyeshadow creasing and my eyeliner transferring into my crease slightly. I know you can buy eyeshadow primers but I don't really have the money to be perfectly honest, hence why I popped this primer all over my face! My eyeshadow no longer creases and my eyeliner no longer transfers! Even after a night out where I've been getting a bit hot after having a good 'ld dance.. my make-up has been in pretty good tact! 

Overall, I'm loving this product and I will definitely be repurchasing it once this pot is empty! If you're ever going to buy a primer I would say now is the time... you won't want your make-up slipping down your face at a Christmas/New Year party! 


Hope this has helped!
Speak soon
Isabel x
Share:

Thursday, 16 October 2014

Homemade Lemon Body Scrub

Lets talk about skin...

I have oily skin! Although it means I'm is less prone to signs of ageing, like wrinkles, it also means that my pores are susceptible to clogging and dead skin on its surface. And of course, being a make-up lover, I don't help myself by shoving a load of make-up on my face most days. I know it is common for people my age to be rather 'spotty' due to hormones etc but to be honest it is really bugging me and my skin is just DREADFUL. 

SOS (Save Our Skin)
This is what I want to do... try and save my skin without any nasty chemicals (and breaking the bank)! So, I've done a little research and it has become quite clear that honey is the bees knees (whaeeey) along side lemon and olive oil. 

'When life gives you lemons'... make skin care?!


Lemon juice has multiple benefits towards the skin, for example:

- It is a natural exfoliant, the citric acid removes the top layer of dead skin cells.
- It helps heal ache due to its natural antibacterial components, the L-ascorbic acid in lemons is used in lots of acne products on the market. 
- It can also be used to brighten your skin. 

WARNING
- If your skin stings...dilute the lemon juice with a few drops of water until your skin can cope.
- If your skin is already dry, it could make it worse, so moisturise before hand (use honey or olive oil for normal skin and for oily, lemon and cucumber)
- Don't over apply... every other day is the best way forward. This will reduce the likelihood of side effects where for example, broken skin becomes infected (gross)!

With all this in mind, I need to exfoliate, heal ache and moisturise! Hence why I have made this scrub... now let me show you how! 

YOU WILL NEED:
 Ingredients
- 1-2 lemons
- 12 tbs sugar (I used quite find granules because I have sensitive skin)
- 2 tbs olive oil 
 (these measurements vary depending on the constancy you prefer)
Equipment
- Measuring spoons
- Lemon juicer
- A mixing bowl
- Bowls to split the measured ingredients in to
- A jar to put the product in


STEP ONE


Get all of the juice out of those lemons!

STEP TWO

Measure out the sugar and olive oil (you can use honey instead of the oil)


STEP THREE


Pour the sugar...


...lemon juice...


...and olive oil into the mixing bowl.

STEP FOUR

Stir all of the ingredients together. It should mimic a syrup-like constancy, if not, add a bit more sugar if it is too runny or add a drop of olive oil to loosen the paste.

STEP FIVE


Whilst it is still in the mixing bowl, try the product on the back of your hand before exchanging it into the jar.

STEP SIX


Pour the scrub into a jar of your choice, preferably one that can be closed tightly as the scrub is rather runny!

STEP SEVEN (Optional)


Attach a pretty label!

This should last quite a long time considering its all natural, but really, if it does 'go off' then you haven't really wasted much money! 
The mixture will separate once it has been left to sit, so just stir it a bit before you use it. 

EASY PEASY...LEMON SQUEEZY! 
(Sorry, I couldn't resist)

I will let you know how I get on with ma scrub! Thanks for reading!

Speak soon
Isabel x


Share:
© isabel's insight | All rights reserved.
Blogger Template Developed by pipdig